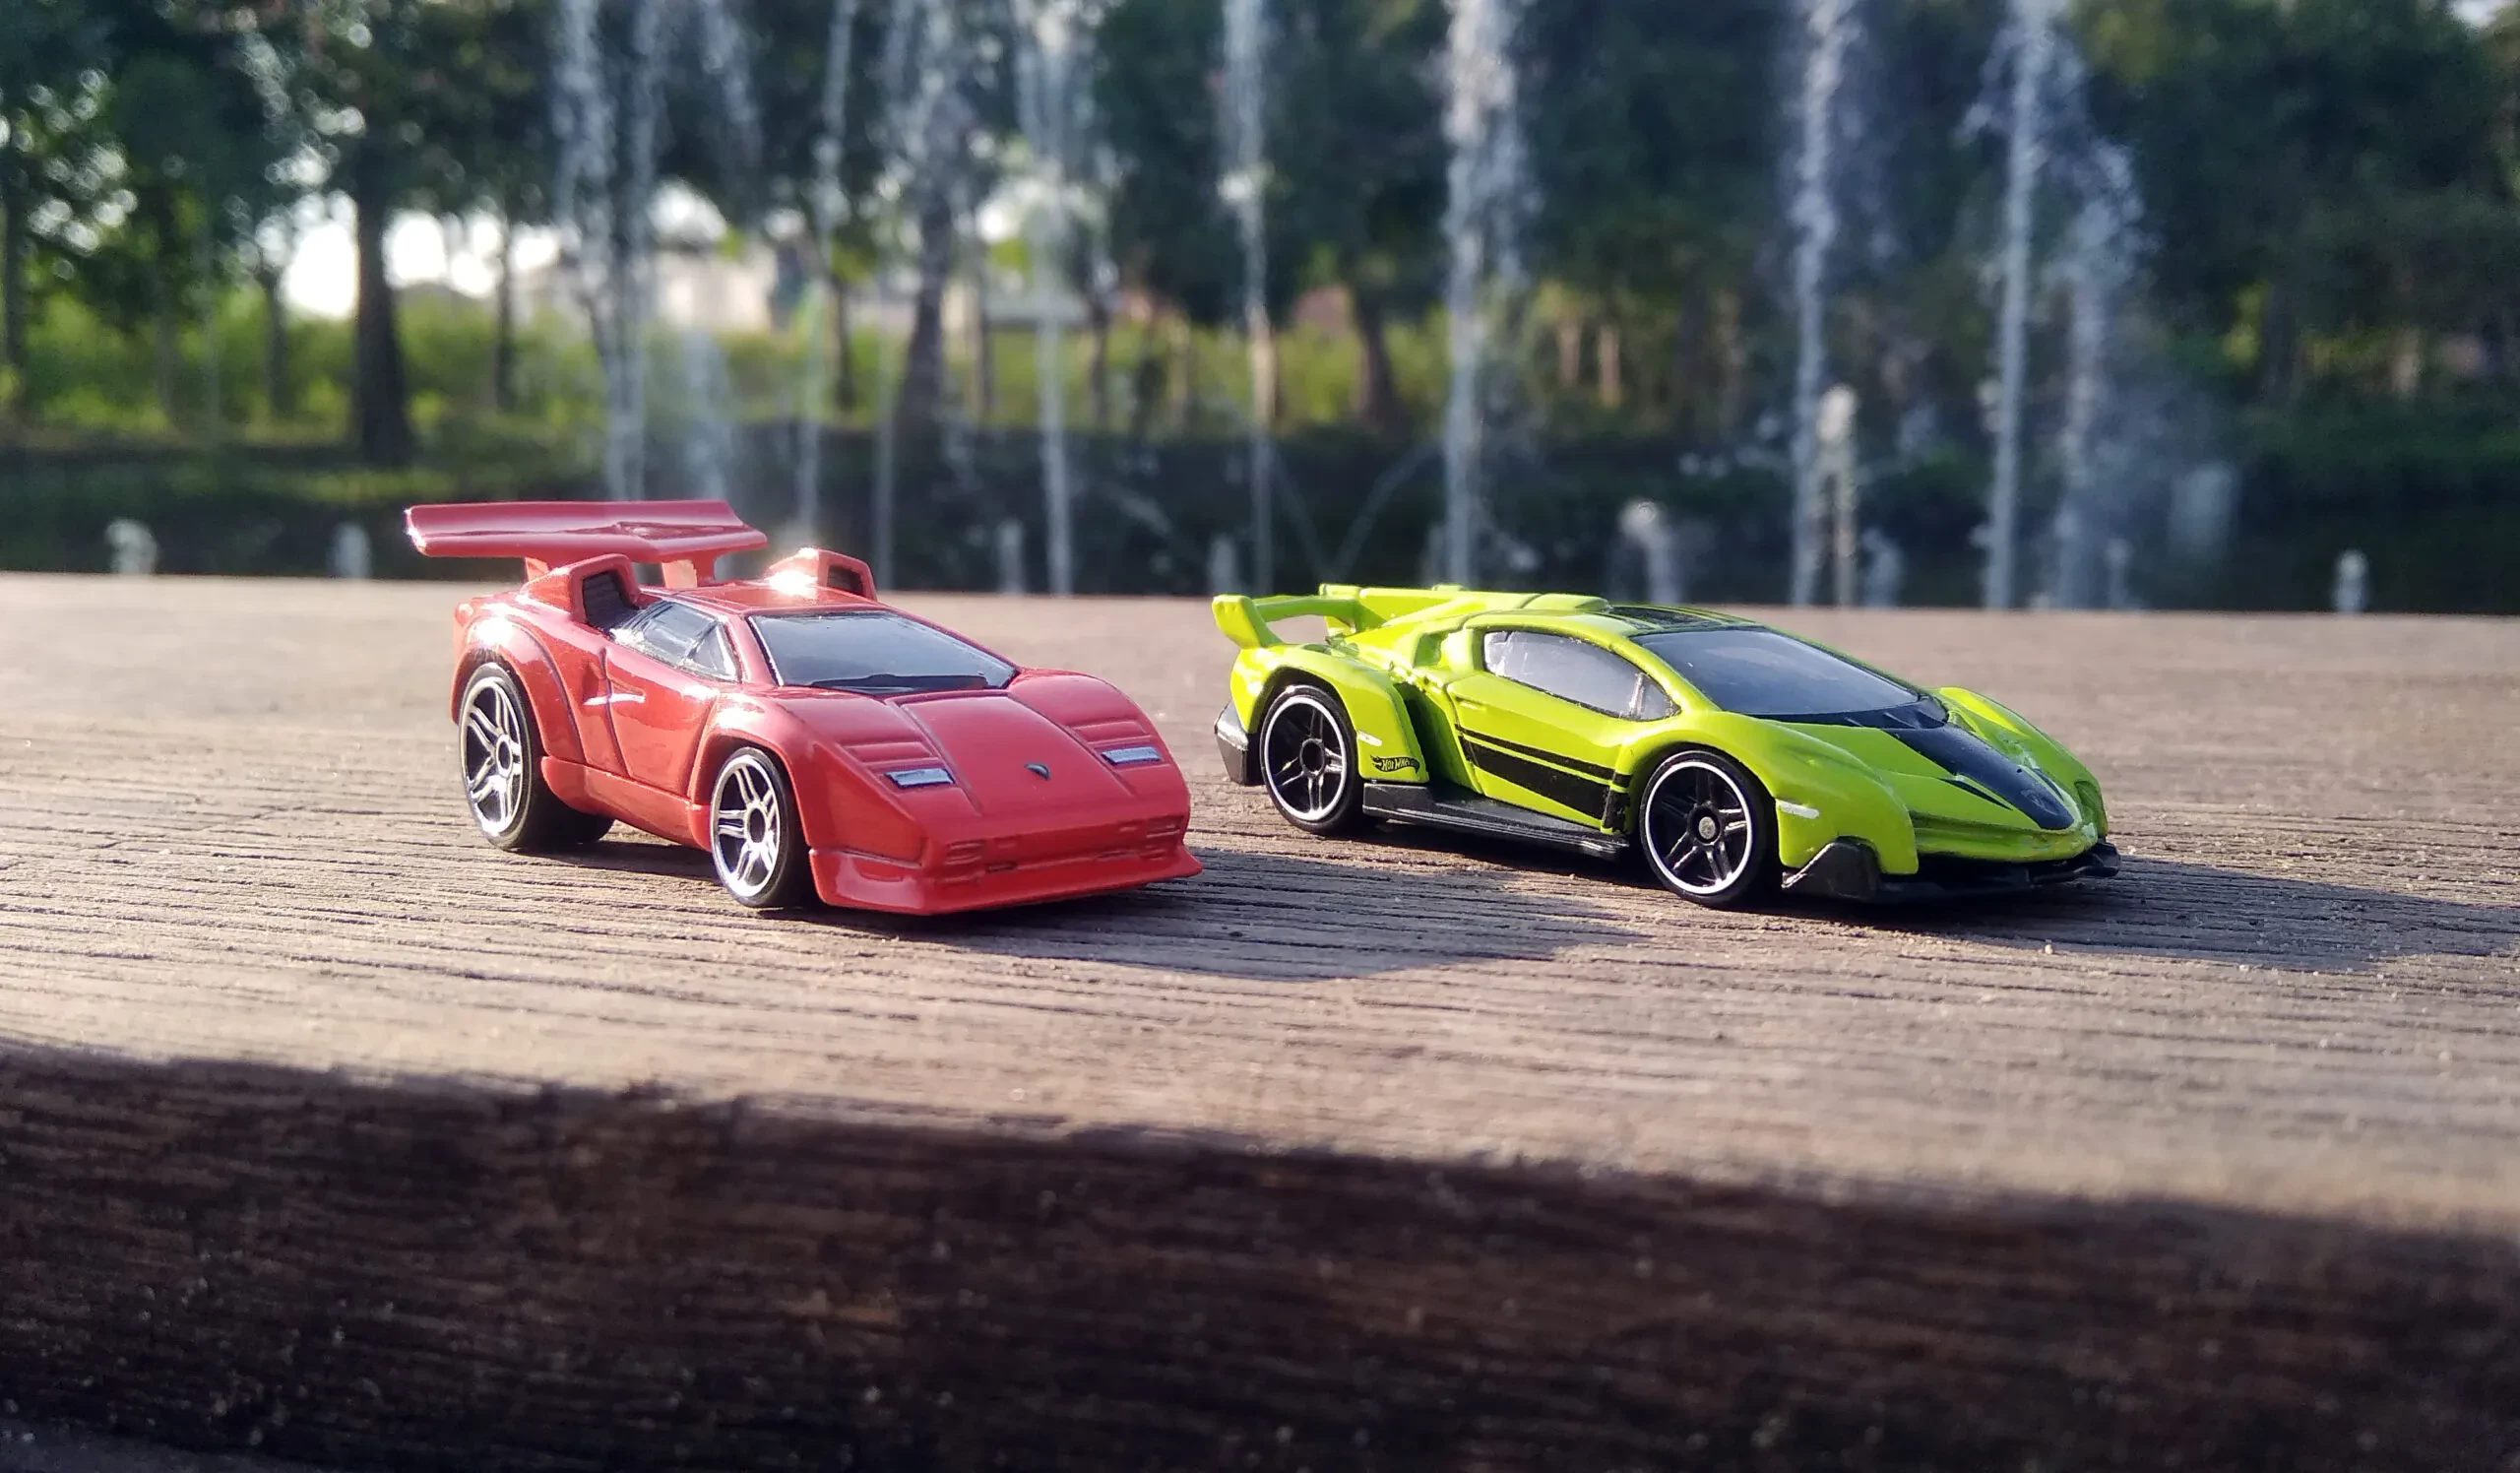
Alright, buckle up gearheads! Ever looked at a pristine diecast model car and thought, “I could do that!”? Well, guess what? You absolutely can. Building your own diecast model car is a fantastic hobby that combines precision, patience, and a whole lot of creative freedom. This isn’t just about gluing a few pieces together; it’s about crafting a miniature work of art, a tangible representation of your passion for automobiles.

Why Bother Building When You Can Buy?
That’s a fair question. The truth is, buying a pre-built diecast is often easier and sometimes cheaper, especially for basic models. However, the real joy of self-build diecast model cars lies in the process. It’s about the satisfaction of transforming a collection of parts into a complete, detailed replica. Plus, you get to customize it to your heart’s content! Want a specific paint job? Different wheels? Interior details? The power is in your hands.
Think of it like cooking. You can buy a ready-made meal, or you can create something truly special from scratch. Building a diecast car is your chance to be the chef, the engineer, and the artist all rolled into one.
Choosing Your First Kit: Baby Steps, People!
Don’t go jumping into the deep end with a 1:8 scale Bugatti kit right off the bat. Start simple! Look for 1:24 or 1:25 scale kits with a relatively low parts count. Revell, Tamiya, and AMT are all reputable brands known for producing quality kits. Read reviews online before you buy to get a sense of the kit’s difficulty level and any potential issues.
Also, consider the subject matter. Choose a car you’re actually interested in! Building a model of a car you love will make the whole process much more enjoyable. Think about your favorite classic car, a dream car, or even the car you drive every day (if a kit exists, of course!).

What’s in the Box?
Typically, a diecast model car kit will include a number of parts molded in plastic, metal (for the diecast body, often), and sometimes rubber (for the tires). You’ll also find decals (stickers) for badges, gauges, and other details, as well as a set of instructions. Some kits also include chrome-plated parts for added realism.
Pay close attention to the instructions! These are your bible. Read them thoroughly before you even think about touching the parts. Familiarize yourself with the assembly process and identify any potential problem areas.
Essential Tools and Supplies: Gearing Up
Okay, you’ve got your kit. Now you need the right tools to bring it to life. Here’s a basic list to get you started:
- Sprue cutters (for removing parts from the plastic sprue)
- Hobby knife (for trimming and cleaning up parts)
- Plastic cement (for gluing plastic parts together)
- Super glue (for gluing metal or rubber parts)
- Sandpaper (various grits, for smoothing surfaces)
- Paintbrushes (various sizes, for painting details)
- Paint (enamel or acrylic, depending on the kit)
- Masking tape (for creating clean paint lines)
- Tweezers (for handling small parts)
- Pin vise (for drilling small holes)
- Cutting mat (to protect your work surface)
Don’t feel like you need to buy the most expensive tools right away. Start with the basics and upgrade as needed. As you gain experience, you’ll develop a better sense of what tools work best for you.
The Building Process: From Parts to Perfection
Alright, let’s get down to business! Here’s a general overview of the building process. Remember to always refer to your kit’s specific instructions for detailed guidance.
First, carefully remove the parts from the plastic sprue using your sprue cutters. Try to cut as close to the part as possible to minimize the amount of trimming required. Clean up any remaining sprue residue with your hobby knife. Be careful not to cut yourself!
Next, dry-fit the parts together before applying any glue. This will give you a chance to identify any fit issues and make sure everything lines up correctly. If necessary, sand or trim the parts to improve the fit.
Once you’re satisfied with the fit, apply a small amount of plastic cement to the mating surfaces and hold the parts together until the glue sets. Avoid using too much glue, as it can create a mess and weaken the joint. Use super glue sparingly for metal or rubber pieces, as it can fog clear plastic.
After the glue has dried, sand any seams or imperfections to create a smooth surface. Start with a coarse grit sandpaper and gradually work your way up to a finer grit. Be careful not to sand away too much material.

Now comes the fun part: painting! Prime the model with a thin coat of primer to create a uniform surface for the paint to adhere to. Then, apply several thin coats of paint, allowing each coat to dry completely before applying the next. Use masking tape to create clean paint lines and protect areas you don’t want to paint. Be patient and take your time!
Once the paint has dried, apply the decals. Soak the decals in water for a few seconds, then carefully slide them onto the model. Use a soft cloth to smooth out any air bubbles or wrinkles. Seal the decals with a clear coat to protect them and prevent them from peeling.
Finally, assemble the remaining parts, such as the wheels, tires, and interior details. Refer to the instructions for guidance. Step back and admire your handiwork!
Customization: Taking it to the Next Level
Once you’ve built a few kits, you might want to start experimenting with customization. This is where you can really let your creativity shine! Here are a few ideas:
- Changing the paint color
- Adding aftermarket wheels and tires
- Detailing the engine bay
- Modifying the interior
- Adding photo-etched parts (metal details)
- Scratch-building custom parts
The possibilities are endless! Don’t be afraid to experiment and try new things. There are tons of resources online to help you learn new techniques and find inspiration. Check out model car forums, YouTube tutorials, and online shops that specialize in aftermarket parts.

Tips and Tricks for Success
Here are a few extra tips to help you along your diecast building journey:
- Work in a well-lit and well-ventilated area.
- Take your time and don’t rush the process.
- Read the instructions carefully before you start.
- Dry-fit the parts before applying glue.
- Use small amounts of glue.
- Sand surfaces carefully to avoid removing too much material.
- Apply thin coats of paint.
- Clean your tools after each use.
- Don’t be afraid to ask for help.
- Most importantly, have fun!
Building diecast model cars is a rewarding hobby that can provide hours of enjoyment. It’s a chance to learn new skills, exercise your creativity, and create something truly special. So, what are you waiting for? Grab a kit and get building!
And remember, even if your first model isn’t perfect, don’t get discouraged. Every mistake is a learning opportunity. Keep practicing, keep experimenting, and keep building. Before you know it, you’ll be creating stunning diecast masterpieces that will impress even the most discerning collectors. Happy building in 2024!