Ever looked at your diecast car collection and thought, ‘Man, I wish this one was a different color?’ Or maybe you’ve dreamt of creating a one-of-a-kind design? Well, you’re in luck! Painting your own diecast cars is easier than you think, and it’s a super fun and rewarding hobby. This guide will walk you through the whole process, from prep to final touches, so you can unleash your inner artist.

Gathering Your Supplies: What You’ll Need
Before you dive in, make sure you have all the right tools. This isn’t rocket science, but having the proper supplies will make the whole process much smoother.
- Diecast car (obviously!)
- Fine-grit sandpaper (2000 grit or higher)
- Primer (specifically designed for plastics)
- Acrylic paints (your choice of colors)
- Paint thinner or cleaning solution
- Small paintbrushes (various sizes)
- Toothpicks or fine-tipped applicators
- Masking tape (optional, for detailed designs)
- Clear coat (optional, for protection)
- Gloves

Prep Work: The Key to a Smooth Finish
This is the most crucial step. A poorly prepped surface will lead to a patchy and unprofessional-looking paint job. Take your time here!
First, carefully clean your diecast car with soap and water to remove any dust, grease, or fingerprints. Let it dry completely. Next, lightly sand the surface with your fine-grit sandpaper. Don’t press too hard – you just want to rough up the surface slightly to give the primer better adhesion. Wipe away any sanding dust.

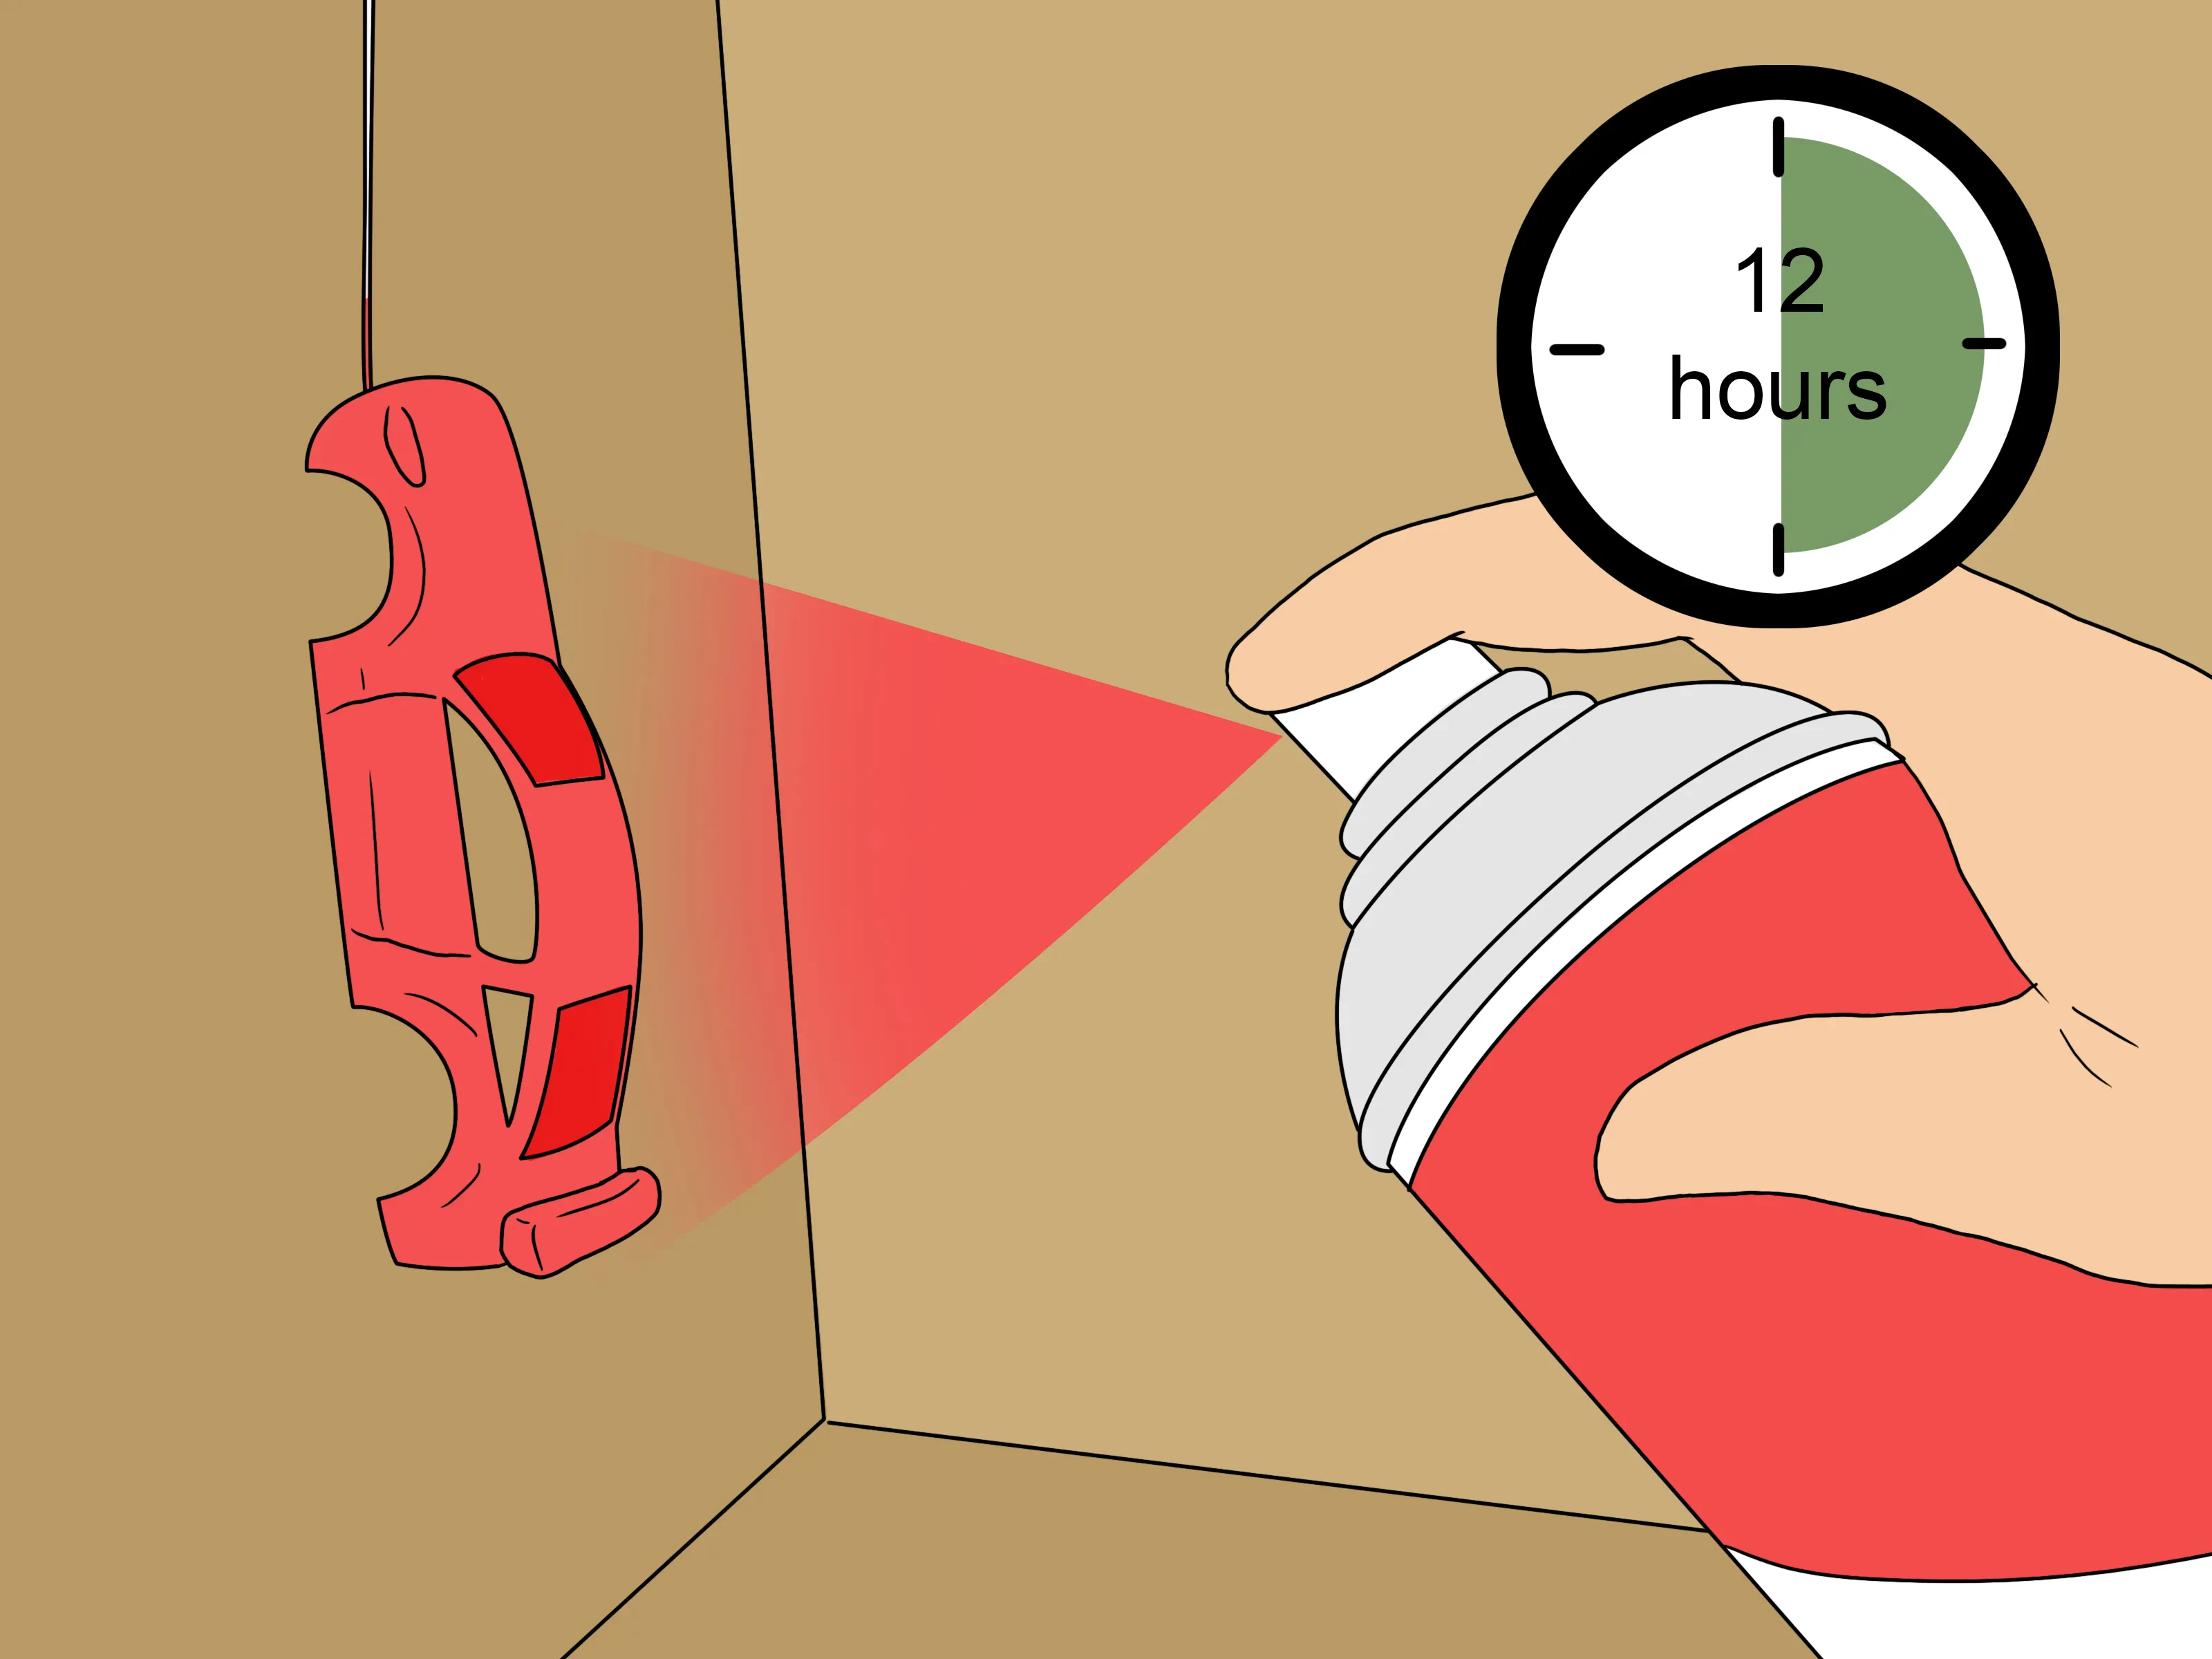
Priming: The Foundation for Your Artwork
Apply a thin, even coat of primer. This creates a smooth surface for your paint to adhere to and prevents the plastic from reacting with the paint. Let the primer dry completely according to the manufacturer’s instructions.

Painting: Unleash Your Creativity!
Now for the fun part! Apply thin coats of your chosen acrylic paints. Multiple thin coats are better than one thick coat, which can lead to drips and unevenness. Let each coat dry completely before applying the next. If you’re doing a complex design, consider using masking tape to create sharp lines.
For detailed work, use smaller brushes or toothpicks to apply paint precisely. Don’t be afraid to experiment! If you make a mistake, just let it dry completely and lightly sand it down before reapplying the paint.

Sealing the Deal: Clear Coat (Optional)
Once your paint is completely dry, you can apply a clear coat to protect your masterpiece. A clear coat adds durability and shine, preventing chips and scratches. Follow the manufacturer’s instructions for application.

Final Touches and Display
Once everything is dry, admire your handiwork! You’ve successfully transformed your diecast car into a custom creation. Display it proudly, or add it to your growing collection of one-of-a-kind painted diecast cars.