So, you’re ready to take your diecast model car game to the next level? Awesome! A fresh coat of paint can breathe new life into an old model, create a custom masterpiece, or even restore a vintage collectible to its former glory. But where do you even start? Choosing the right paint, prepping your model, and applying the paint correctly can seem daunting. Don’t worry, we’re here to break it all down.

Understanding the Different Types of Diecast Model Car Paint
First things first, let’s talk paint. There’s a whole world of different paint types out there, each with its own pros and cons. Choosing the right one depends on your budget, your skill level, and the look you’re going for. Here’s a rundown of the most common types:
- Acrylic Paints
- Enamel Paints
- Lacquer Paints
- Airbrush Paints
Acrylic Paints: The Beginner-Friendly Option
Acrylic paints are water-based, making them easy to clean up and relatively non-toxic. They’re great for beginners because they’re forgiving and readily available in craft stores. However, they can be less durable than other types and may require multiple coats for good coverage. They also tend to dry with a slightly matte finish, so you’ll likely need a clear coat for a glossy look.

Enamel Paints: Durable and Glossy, But Strong-Smelling
Enamel paints are oil-based, making them incredibly durable and providing a glossy finish straight out of the can. They’re also more resistant to scratches and chips than acrylics. The downside? Enamel paints have a strong odor and require mineral spirits or paint thinner for cleanup. Proper ventilation is essential when working with enamels.
Lacquer Paints: Fast-Drying and Professional-Looking
Lacquer paints are known for their incredibly fast drying time and smooth, professional finish. They’re often used by experienced modelers and customizers. However, lacquer paints are highly flammable and require excellent ventilation and safety precautions. They can also react with certain plastics, so always test a small area first.
Airbrush Paints: The Key to Smooth, Even Coats
Airbrush paints aren’t a paint type per se, but rather paints designed to be applied with an airbrush. They are usually thinned acrylics or lacquers formulated for smooth application and fine detail work. Using an airbrush allows for extremely even coats and precise control, making it ideal for intricate designs and color gradients. You can use acrylic, enamel, or lacquer paints in an airbrush, provided they’re properly thinned.

Preparing Your Diecast Model for Painting
Proper preparation is crucial for a successful paint job. No matter how good your paint is, it won’t adhere properly to a dirty or uneven surface. Here’s the breakdown:
- Disassembly
- Cleaning
- Stripping Old Paint (If Necessary)
- Priming
Disassembly: Taking it Apart
Carefully disassemble your model as much as possible. Remove wheels, axles, windows, and any other parts that you don’t want to be painted. This will make painting much easier and prevent overspray.
Cleaning: Getting Rid of Grime
Thoroughly clean the diecast body with warm soapy water. Use a mild dish soap and a soft brush to remove any dirt, grease, or fingerprints. Rinse well and allow it to dry completely.
Stripping Old Paint: Starting Fresh
If your model has old or damaged paint, you’ll need to strip it off. There are several ways to do this, including using paint stripper specifically designed for diecast models, soaking it in isopropyl alcohol, or using a media blaster (for advanced users). Always follow the manufacturer’s instructions for the stripping agent you choose, and wear appropriate safety gear.

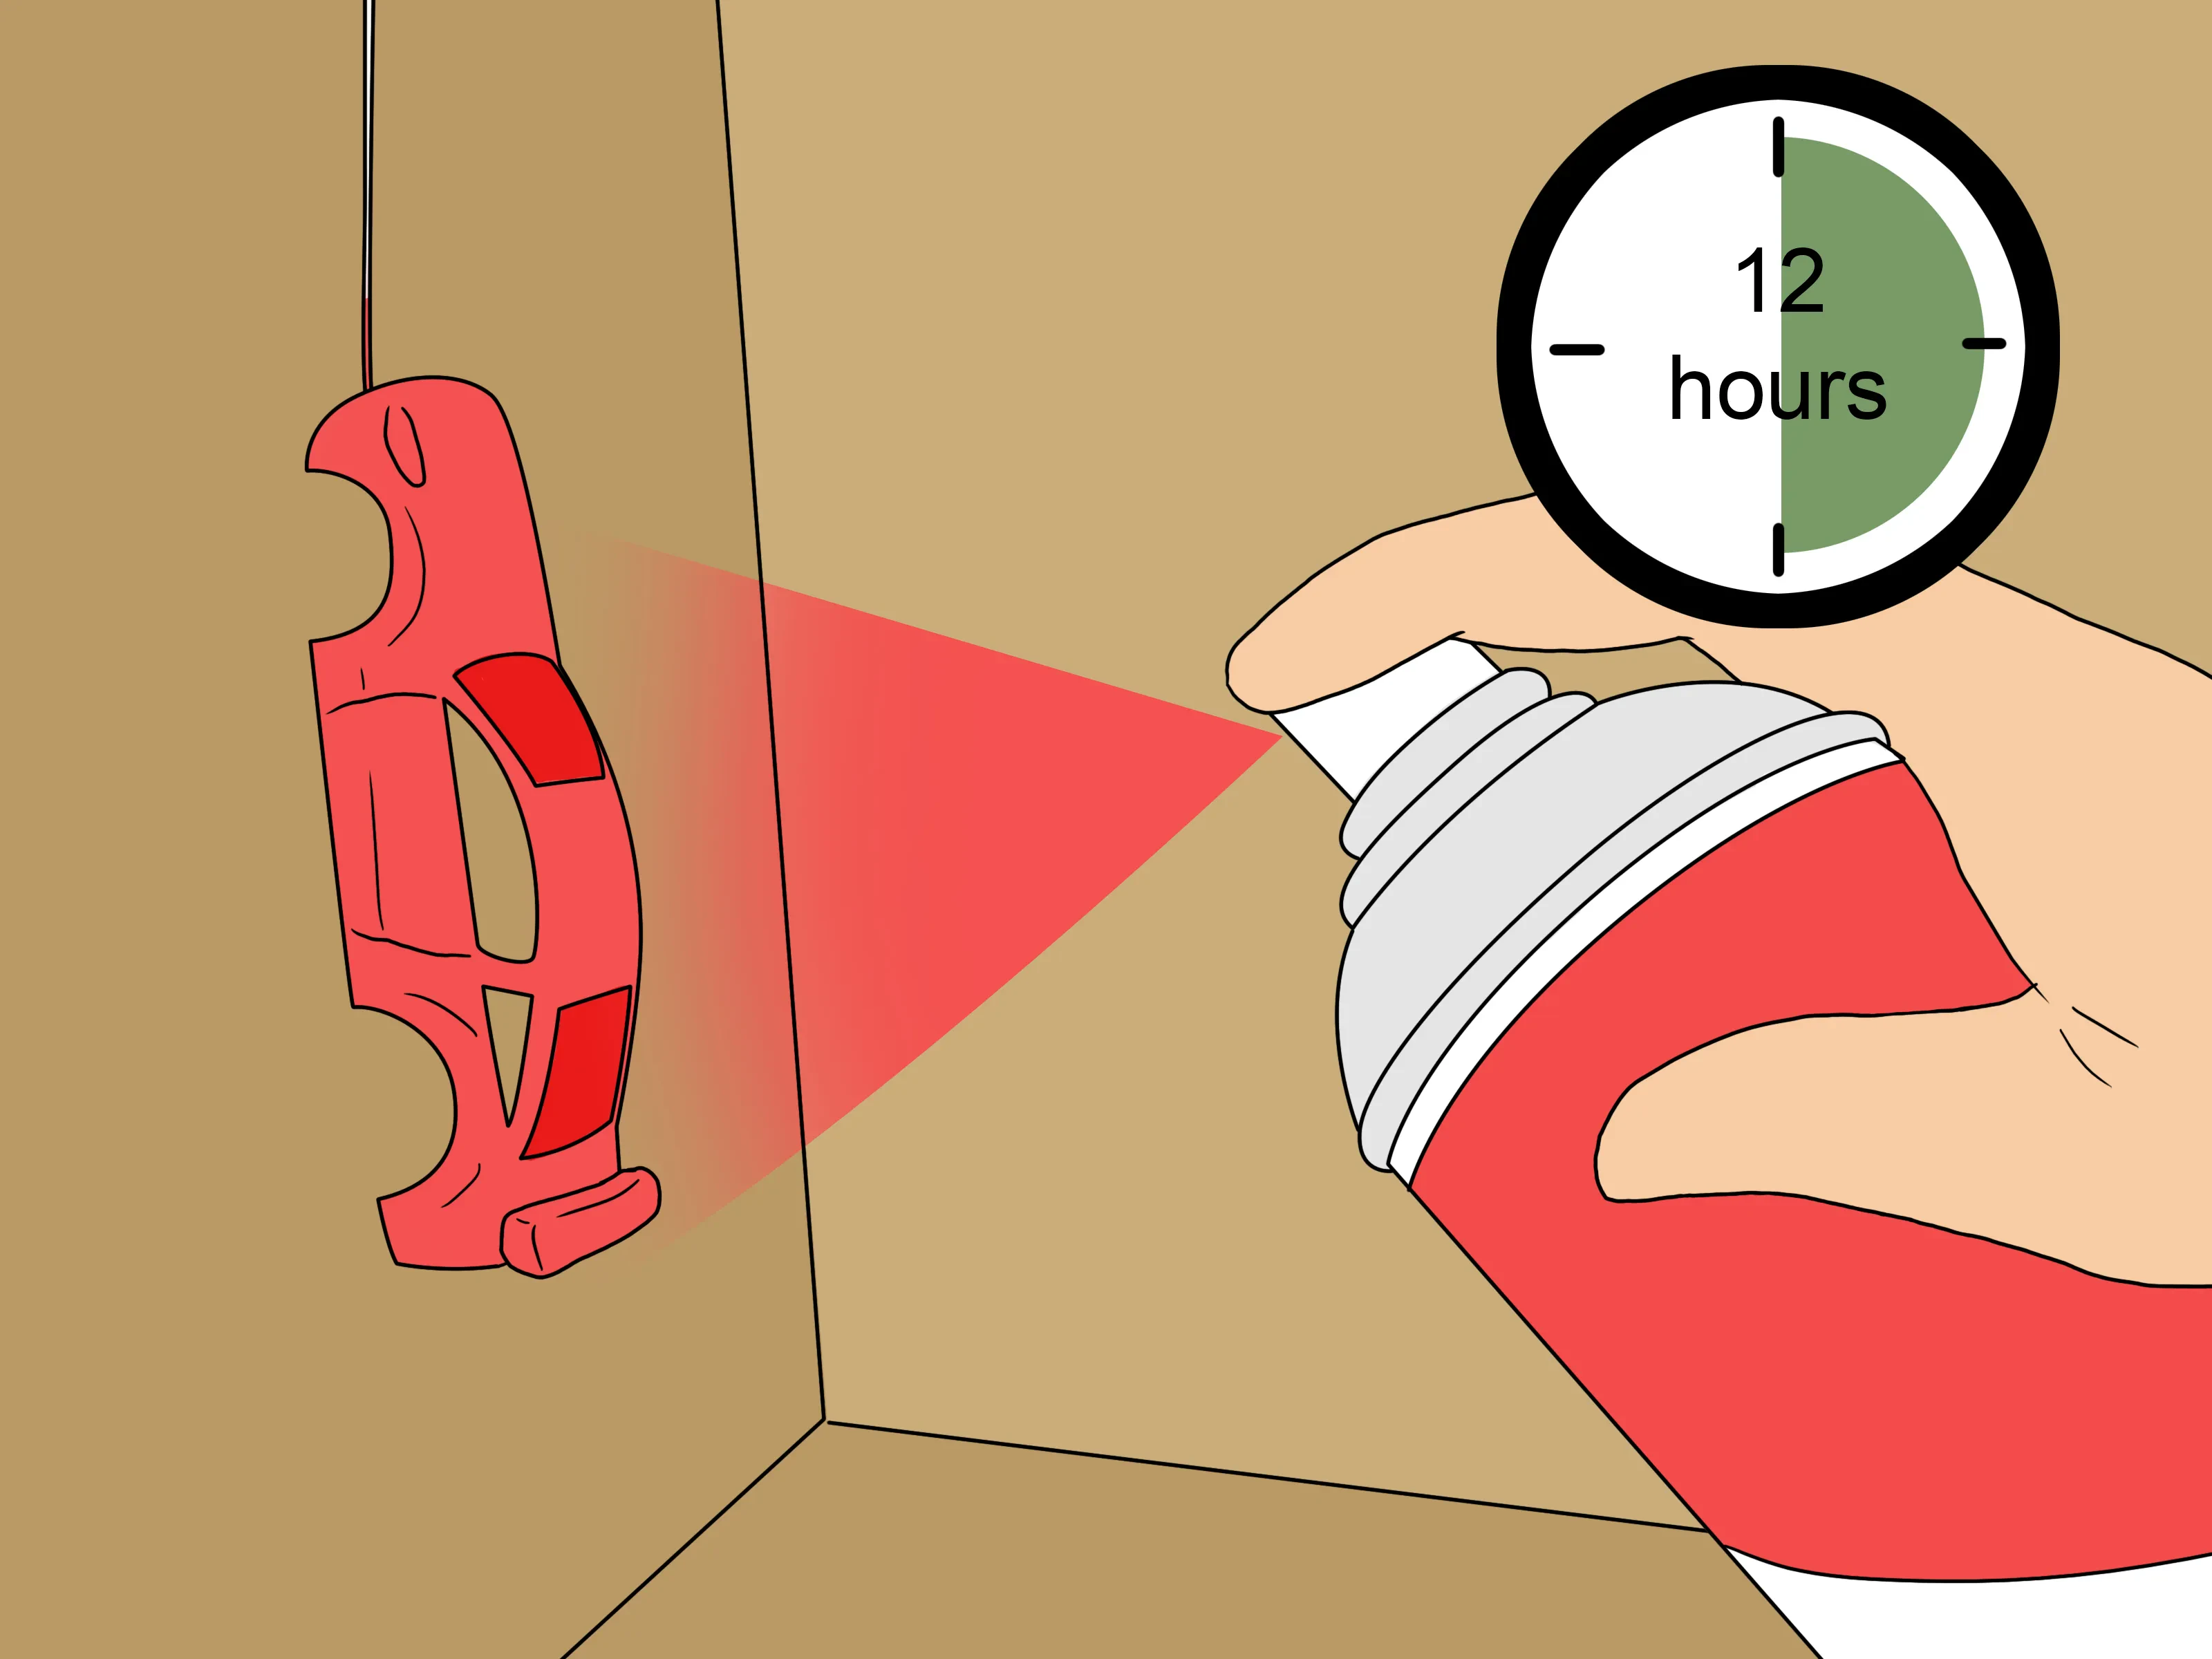
Priming: The Foundation for Success
Priming is an essential step that many beginners skip, but it’s crucial for proper paint adhesion and a smooth finish. Apply a thin, even coat of primer specifically designed for metal surfaces. This will help the paint adhere better and prevent any underlying colors from bleeding through. Let the primer dry completely according to the manufacturer’s instructions before moving on to the color coat.
Applying the Paint: Techniques and Tips
Now for the fun part! Applying the paint requires patience and a steady hand. Whether you’re using spray cans or an airbrush, the key is to apply thin, even coats. Avoid applying too much paint at once, as this can lead to runs and drips.
- Spray Can Technique
- Airbrush Technique
Spray Can Technique: Mastering the Aerosol
Shake the spray can thoroughly for at least two minutes before use. Hold the can about 10-12 inches away from the model and apply the paint in smooth, even strokes. Overlap each stroke slightly to ensure complete coverage. Apply multiple thin coats, allowing each coat to dry completely before applying the next. This will help prevent runs and drips. Keep the can moving to avoid pooling.
Airbrush Technique: Precision and Control
If you’re using an airbrush, thin your paint according to the manufacturer’s instructions. Start with a lower air pressure and gradually increase it until you achieve a smooth, consistent spray pattern. Hold the airbrush about 4-6 inches away from the model and apply the paint in smooth, even strokes. Just like with spray cans, apply multiple thin coats, allowing each coat to dry completely before applying the next. Clean your airbrush thoroughly after each use to prevent clogs.

Clear Coating and Finishing
Once the color coat is dry, it’s time to apply a clear coat. This will protect the paint and give it a glossy, professional finish. Use a clear coat that’s compatible with your paint type (acrylic clear coat for acrylic paint, etc.). Apply the clear coat in the same manner as the color coat – thin, even coats with proper drying time in between. Once the clear coat is completely dry, you can polish and wax the model for an even more brilliant shine.
Consider using a polishing compound and a soft cloth to buff out any imperfections in the clear coat. Follow this with a coat of wax to protect the finish and add extra shine.
Troubleshooting Common Diecast Painting Problems
Even with careful preparation and application, problems can sometimes arise. Here are some common issues and how to fix them:
- Runs and Drips
- Orange Peel
- Paint Not Adhering
- Dust and Debris
Runs and Drips: Too Much Paint!
Runs and drips are caused by applying too much paint at once. If you catch a run or drip while the paint is still wet, try to brush it out with a clean brush. If the paint has already dried, you’ll need to sand it down smooth and reapply the paint.
Orange Peel: A Textured Finish
Orange peel is a textured finish that looks like the skin of an orange. It’s often caused by using paint that’s too thick, spraying in a humid environment, or not holding the spray can or airbrush at the correct distance. To fix orange peel, you’ll need to sand the surface smooth and reapply the paint, making sure to use properly thinned paint and a consistent spraying technique.
Paint Not Adhering: Prep is Key
If the paint isn’t adhering properly, it’s likely due to inadequate surface preparation. Make sure you’ve thoroughly cleaned the diecast body and applied a suitable primer. You may also need to scuff the surface with fine-grit sandpaper to create a better bond.
Dust and Debris: Keeping it Clean
Dust and debris can ruin a perfectly good paint job. To minimize dust, work in a clean, well-ventilated area. Use a tack cloth to wipe down the model before painting, and consider using a spray booth. If you do get dust or debris in the paint, you can try to pick it out with a needle or toothpick while the paint is still wet. If it’s already dry, you’ll need to sand it down and reapply the paint.

2024’s Latest Trends and Products in Diecast Painting
The world of diecast painting is constantly evolving, with new products and techniques emerging all the time. In 2024, we’re seeing a rise in the popularity of water-based lacquers (offering the benefits of lacquer with easier cleanup) and specialized weathering effects to create incredibly realistic models. Experiment with different products and techniques to find what works best for you!
Don’t be afraid to experiment with different colors, finishes, and techniques. The most important thing is to have fun and enjoy the process! With a little practice, you’ll be creating stunning diecast masterpieces in no time.