So, you’re thinking about building your own diecast model car? That’s awesome! It’s a super rewarding hobby that lets you create something truly unique. It can be as simple or complex as you want it to be, perfect for a relaxing weekend project or a long-term passion project.
But where do you even start? Don’t worry, we’ll walk you through the whole process, step-by-step. We’ll cover everything from choosing the right kit to the final touches that’ll make your model truly shine.
Choosing Your Kit
The first step is selecting your model kit. There’s a huge variety out there, from simple snap-together models to incredibly detailed kits that require advanced skills and tools. Consider your skill level and the amount of time you’re willing to dedicate to the project.
Beginner kits often come with pre-painted parts or simpler assembly. More advanced kits might require painting, decals, and detailed assembly. Check online reviews and forums to see what other builders have to say about specific kits.

Scale Matters
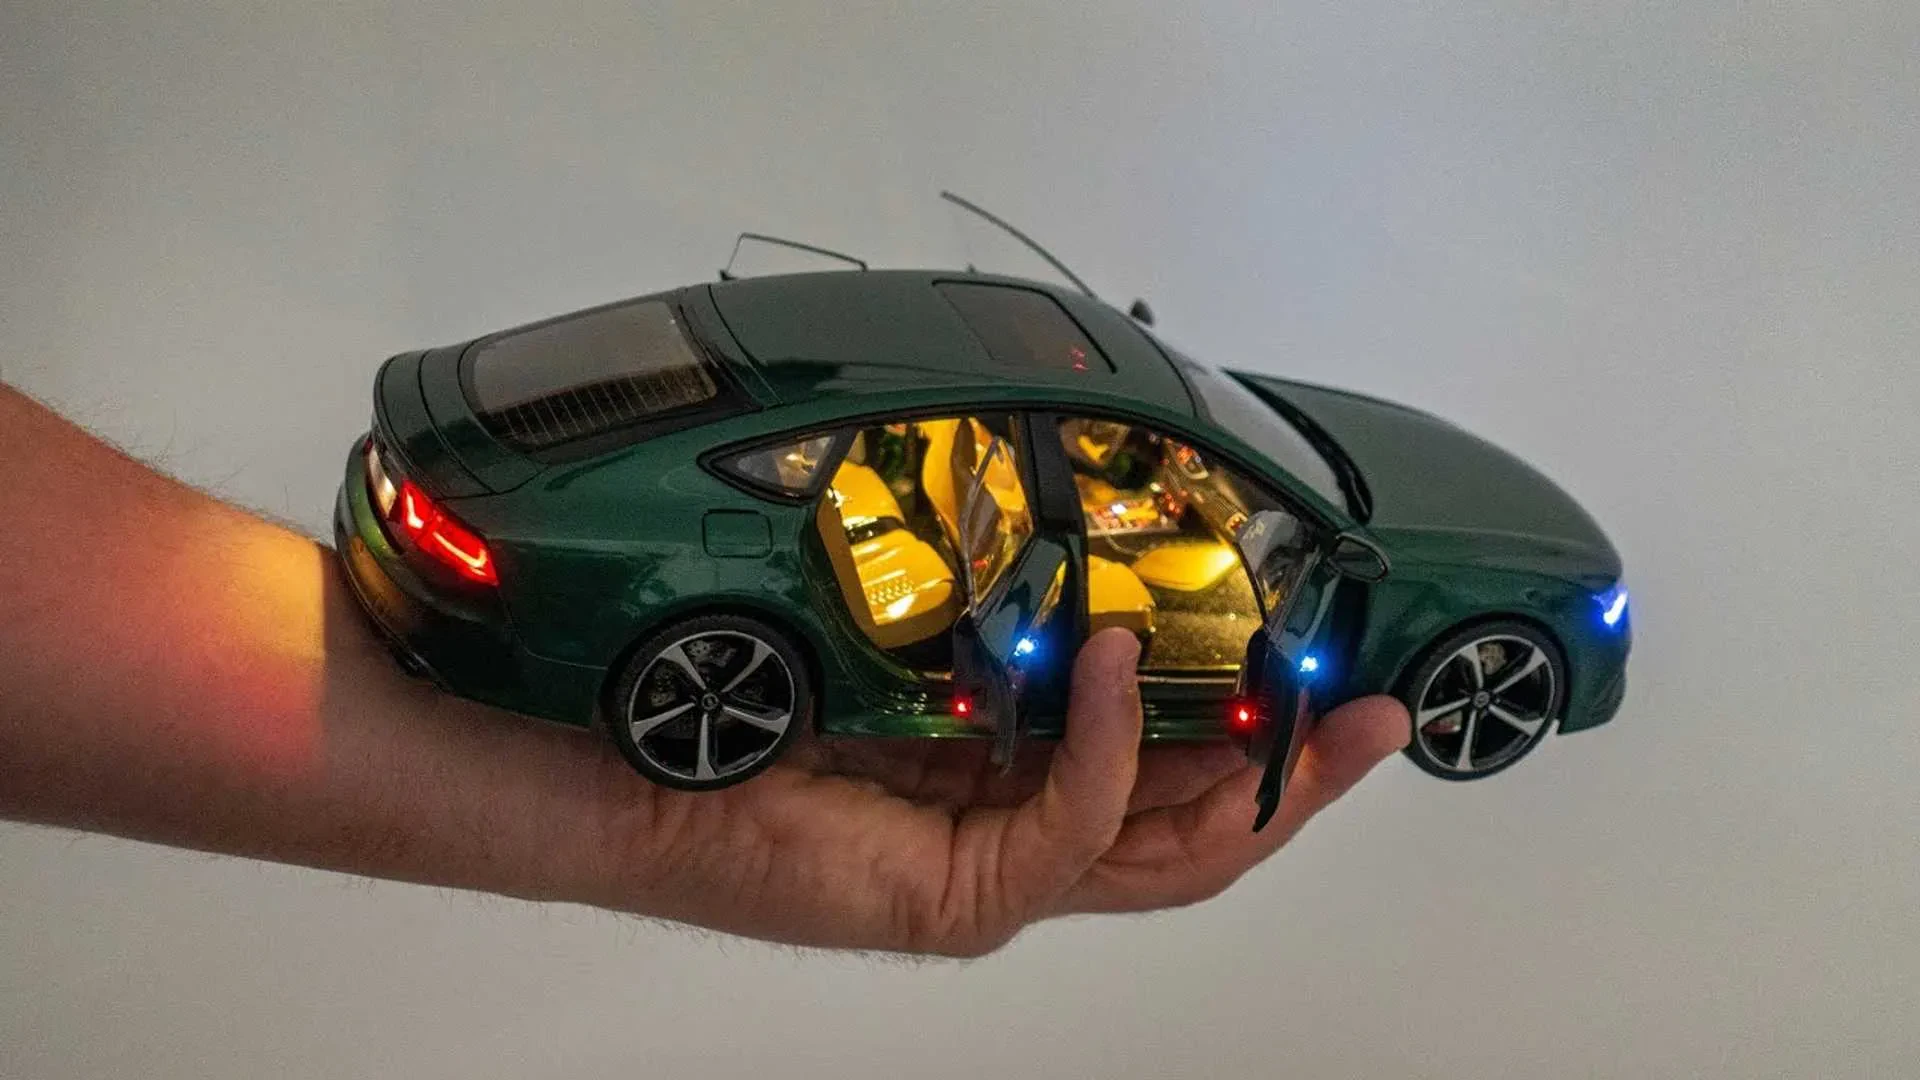
Scale is important! 1:24 scale is a popular choice for beginners as it offers a good balance between detail and size. Smaller scales like 1:43 require more precision and smaller tools. Larger scales like 1:18 are more impressive but also more expensive and time consuming.
Gathering Your Tools
You’ll need a few basic tools to build your model. A good quality hobby knife is essential for precise cutting. Tweezers will help with smaller parts, and a modeling brush is needed for applying paint and glue.
- Hobby knife
- Tweezers
- Modeling brush(es)
- Model glue
- Paint (acrylics are recommended)
- Decals
- Clear coat
- Sandpaper (fine grit)
- Optional: Airbrush

The Build Process: Step-by-Step
Carefully follow the instructions included with your kit. Take your time and be patient – rushing can lead to mistakes. Start with the larger parts and work your way to the smaller details. Clean up any excess glue and flash (plastic leftover from molding).
Once the assembly is complete, it’s time to paint. Start with a primer, then apply your chosen colors in thin coats. Let the paint dry completely between coats. Use a fine-grit sandpaper to smooth out any imperfections.
Apply decals carefully, using decal setting solution to help them adhere properly. Finish with a clear coat to protect your paint and give your model a nice shine.

Adding the Finishing Touches
Once everything is dry, you can add some final details to make your model really stand out. This might involve adding small parts like antennas, wipers, or license plates. You can even add weathering effects to give it a more realistic look.
Display your masterpiece proudly! You’ve created something unique and special. Consider a display case to protect your model from dust and damage.
